
Tattoo aftercare
Welcome to our comprehensive guide on tattoo aftercare, a journey into the essential steps to ensure your tattoo not only heals effectively but remains vibrant for years to come. Tattoo aftercare is a critical aspect of the tattooing process, playing a significant role in minimizing the risk of scarring, infection, and fading. In this extensive guide, we'll walk you through a detailed day-by-day approach to caring for your tattoo, along with long-term maintenance tips and answers to common questions.
Importance of Proper Tattoo Aftercare
Proper tattoo aftercare is not just about the initial healing period; it's a commitment to the longevity and vibrancy of your tattoo. Following the right steps from the get-go can significantly reduce the risk of complications and ensure your tattoo looks as stunning as the day you got it.
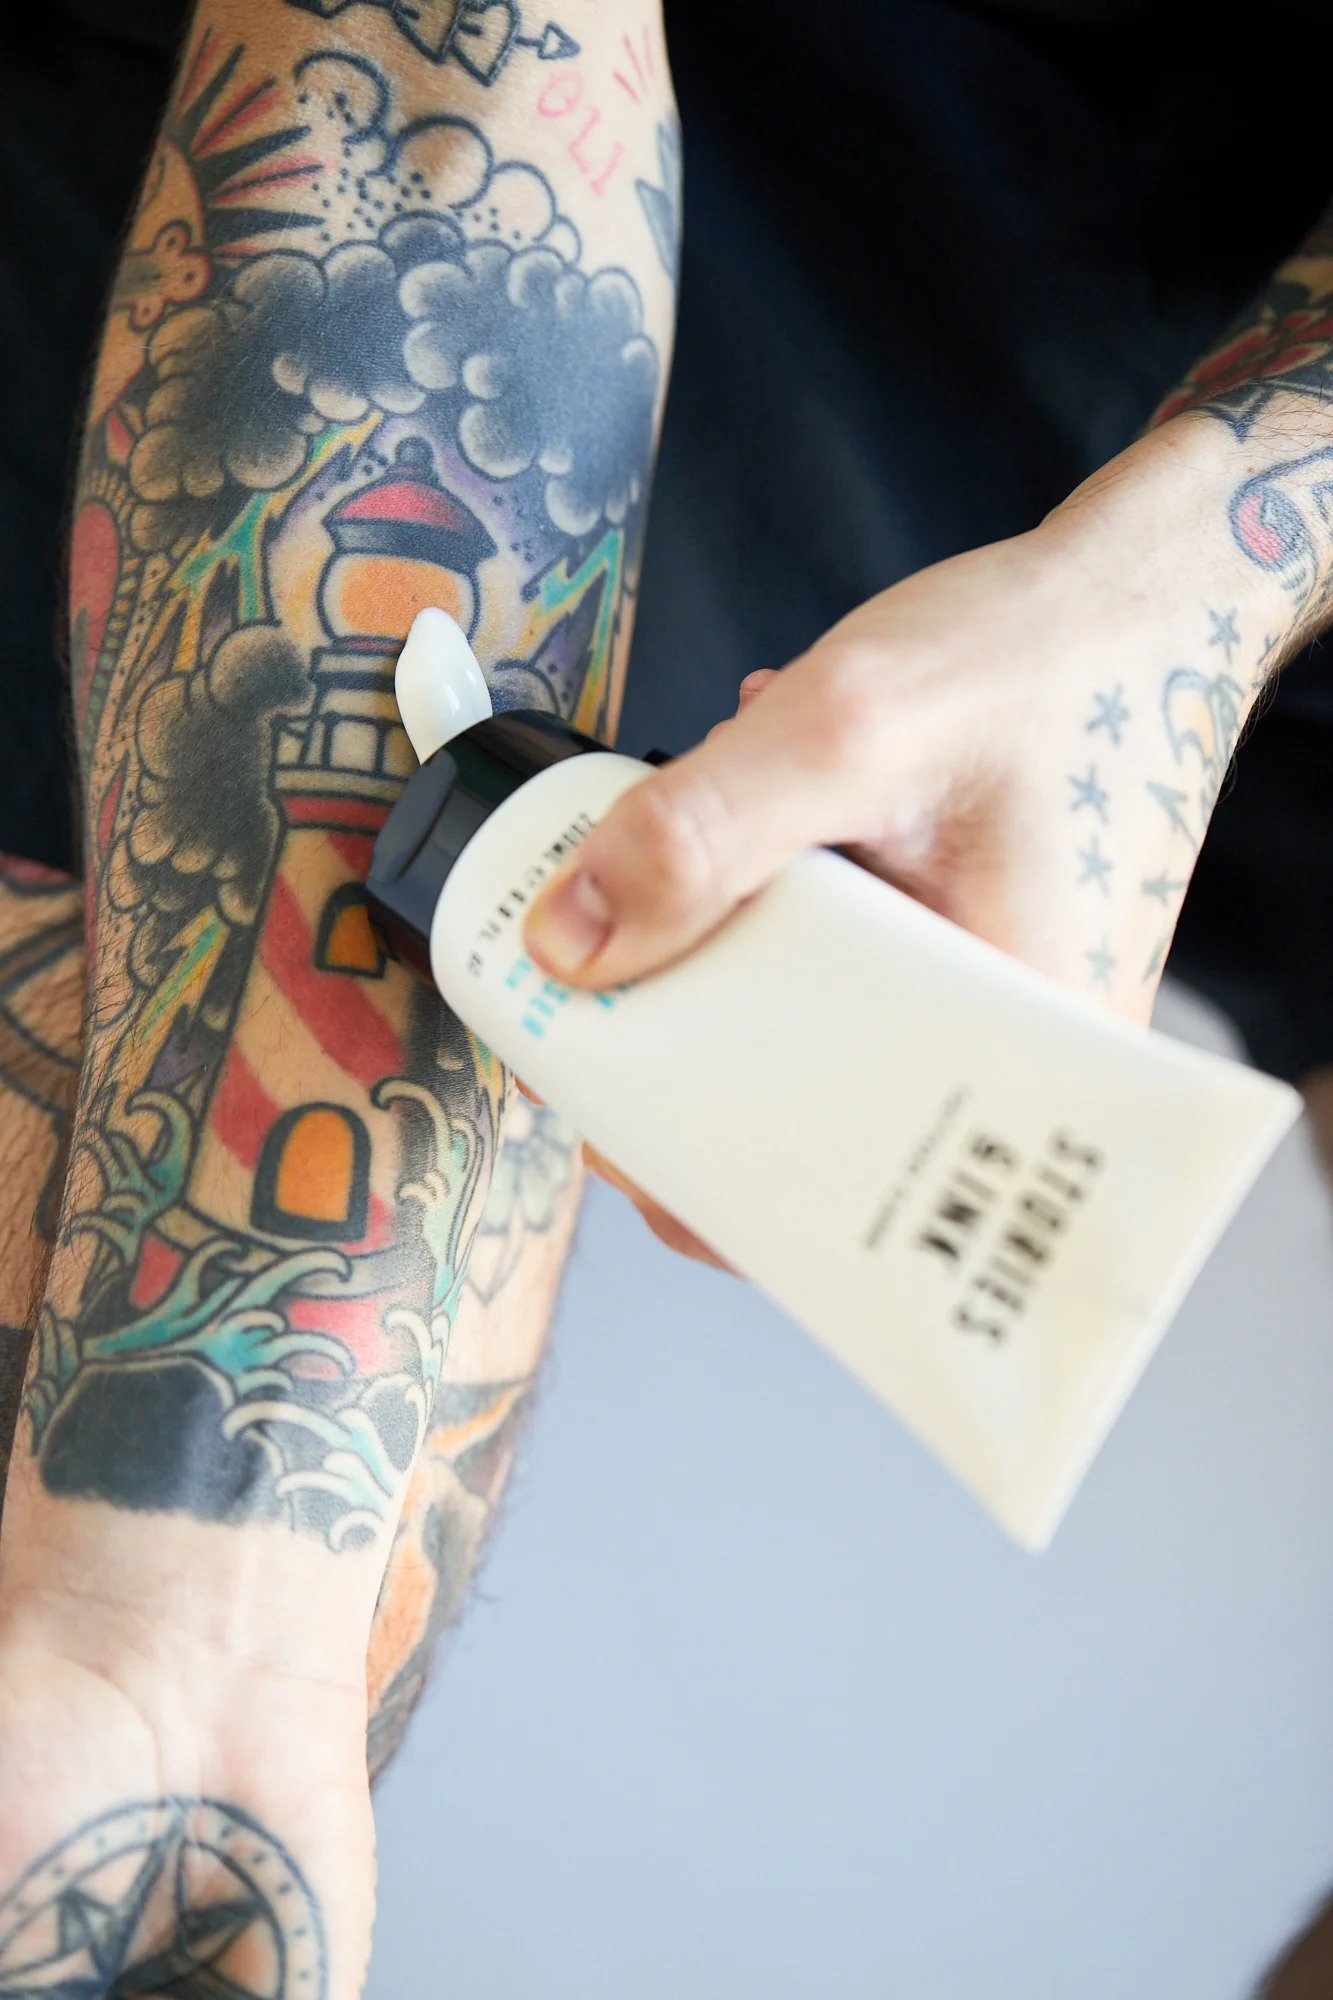
Day 1: Setting the Foundation
Your tattoo artist has just adorned you with a masterpiece, and now it's your turn to take the reins. On the first day, your artist will cover your tattoo with a dressing. It's crucial to follow their instructions on when to remove it. Once the dressing is off, it's time to start the cleansing process. Gently cleanse the tattooed area with warm water and a fragrance-free soap. Take care not to use harsh soaps, as they may irritate the fresh tattoo. After cleansing, pat the area dry with a clean, soft cloth. The next step is applying the recommended ointment or lotion. This not only aids in the healing process but also helps maintain the tattoo's vibrancy.
Days 2–3: Navigating the Dull Phase
As the initial excitement settles, you may notice your tattoo appearing duller. This is a natural part of the healing process. Scabs may start to form, and if you've already removed the dressing, continue washing your tattoo once or twice a day. Some ink may run off during this process, which is entirely normal. Allow the skin to dry naturally before applying the recommended ointment or lotion. Consistency is key during this phase, as it sets the stage for the upcoming stages of healing.
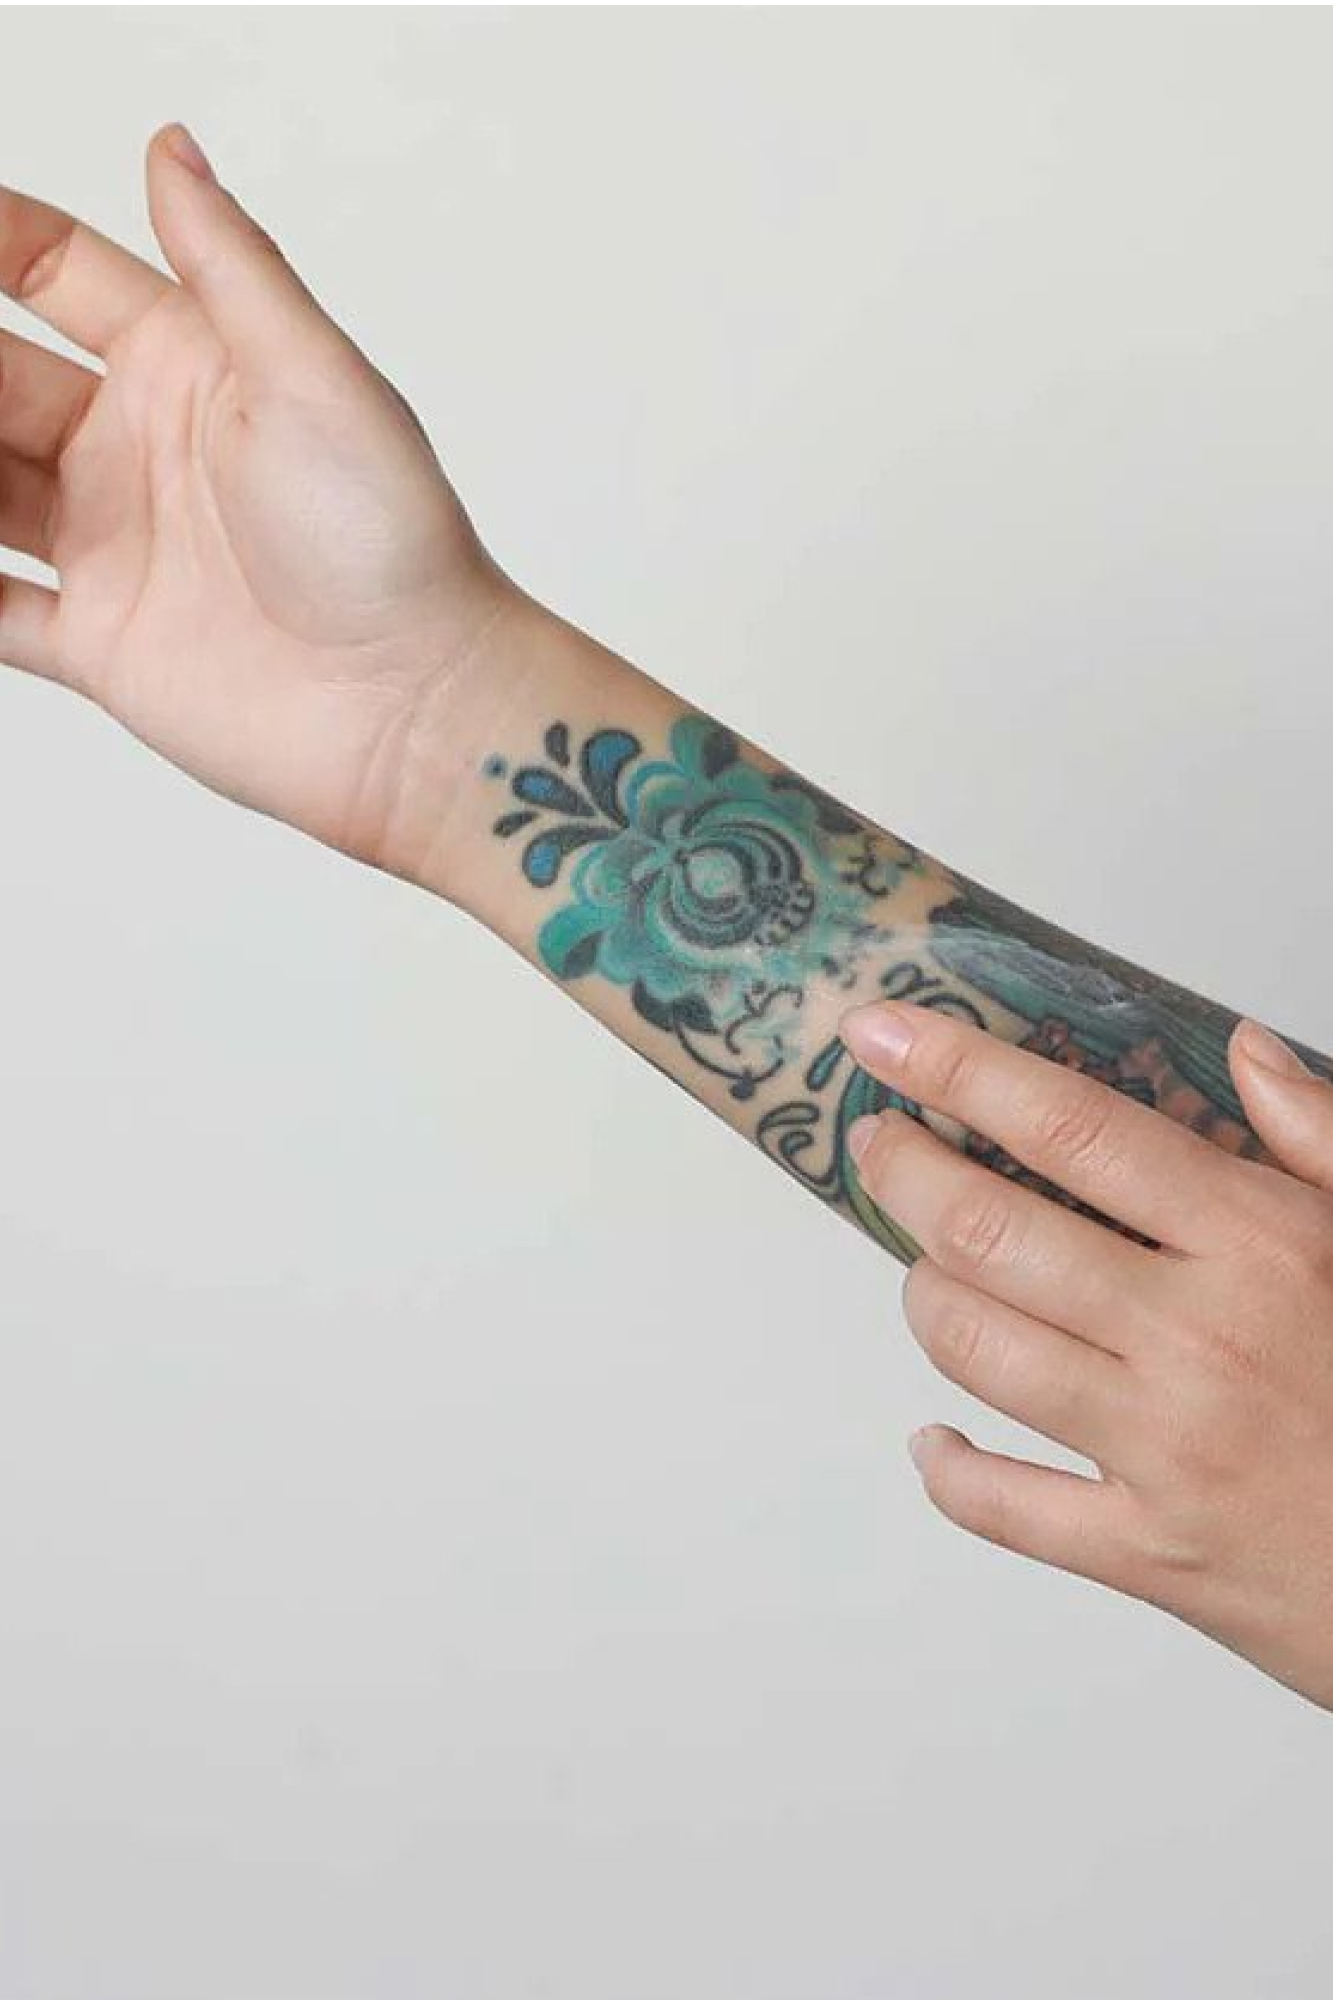
Days 4–6: Transitioning through Healing Layers
The "second skin" (a protective layer applied by some artists) is typically removed during this period. Follow your artist's instructions on how to remove it, ensuring your hands are clean before starting the process. You might find it helpful to pull the adhesive layer to the side gently, allowing it to lift from the skin slowly. Cleanse the area and let the skin dry before applying the recommended aftercare products. Redness should start to fade, and you may notice light scabbing over the tattoo. It's crucial not to pick at the scabs, as this can lead to scarring.
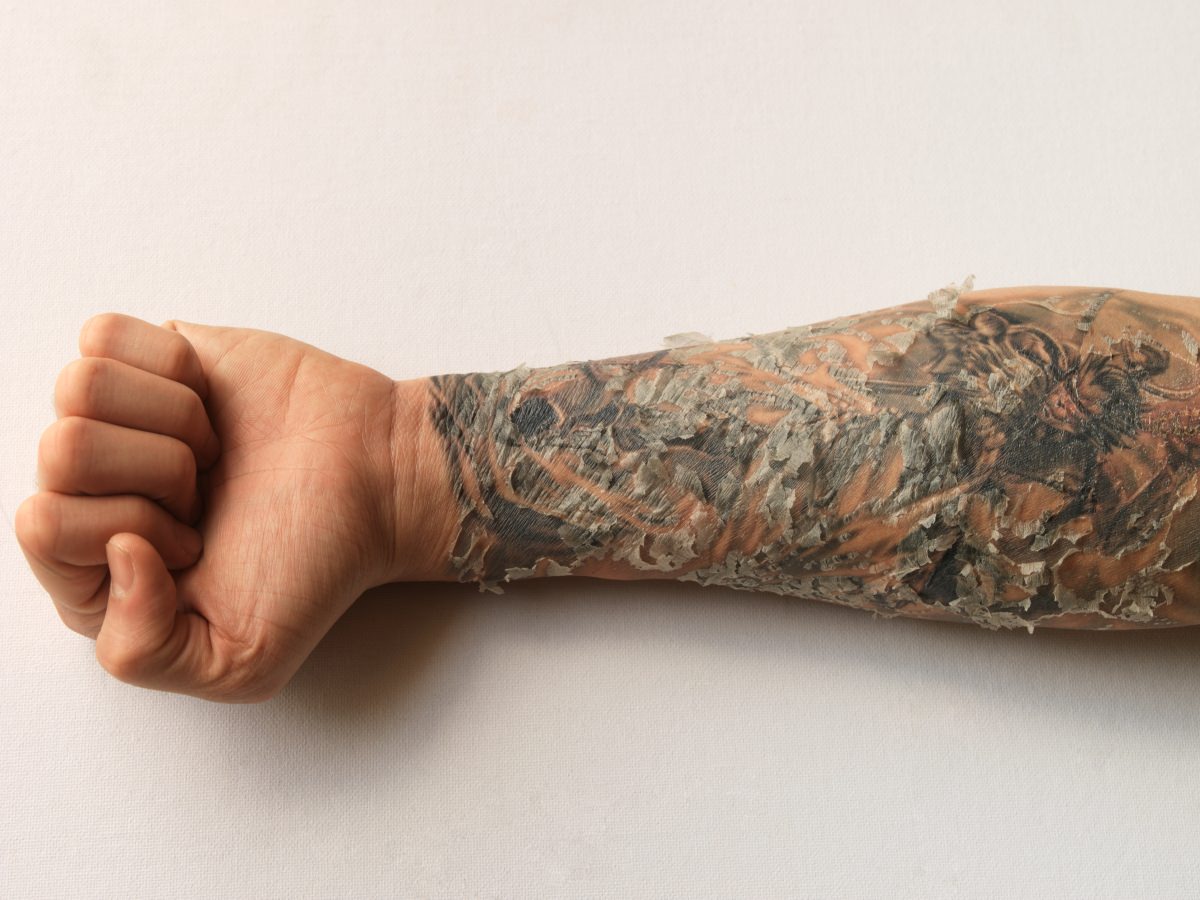
Days 6–14: The Itchy Stage
By now, any scabs have likely hardened and will begin to flake off. Avoid the temptation to pick at them; instead, let them come off naturally. Your skin may feel itchy during this stage, and to relieve the itch, gently rub on a fragrance-free and alcohol-free moisturizer several times daily. If your tattoo is still red and swollen at this point, it's advisable to consult with your tattoo artist or a healthcare professional, as it might indicate an infection
Days 15–30: Final Stages of Healing
In the last stage of healing, most of the big flakes will be gone, and the scabs should be diminishing. You might still see some dead skin, but this should clear up over time. The tattooed area might look dry and dull, so continue moisturizing until the skin looks hydrated again. By the second or third week, the outer layers of skin should have healed, but keep in mind that it may take three to four months for the lower layers to heal completely. Patience is key during this final stretch.
Long-Term Aftercare Tips
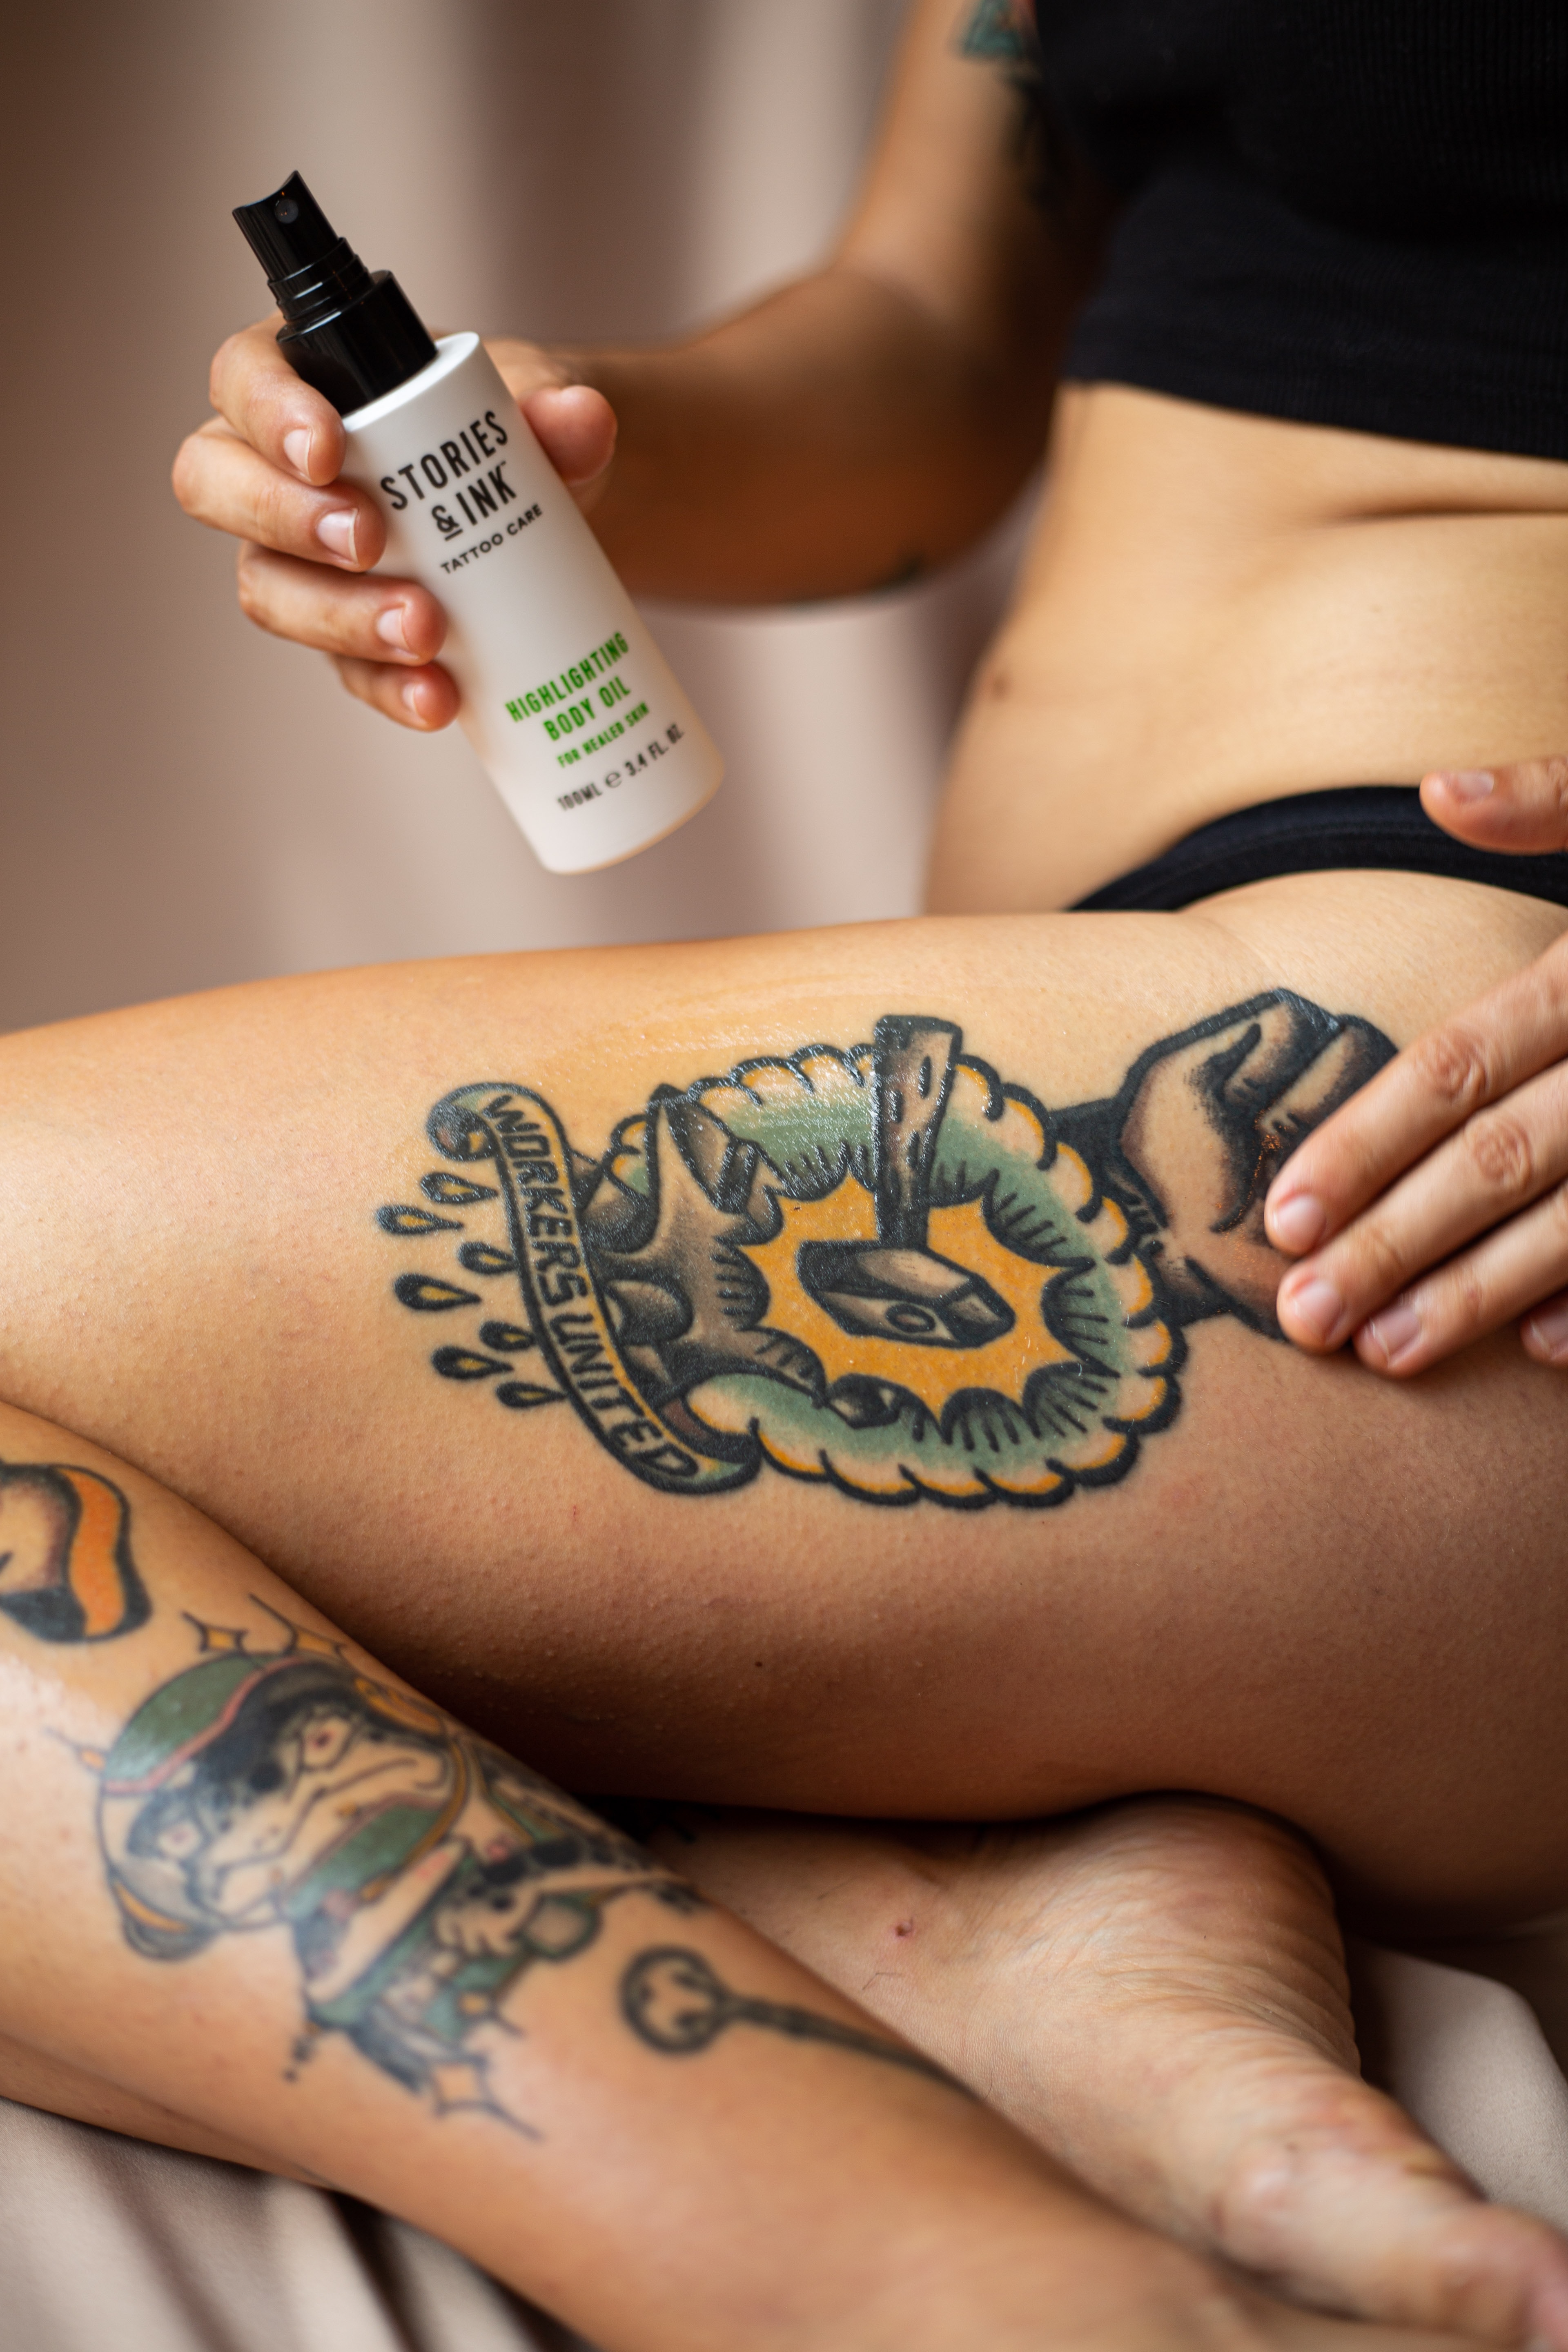
Once your tattoo has successfully traversed the healing process, the focus shifts to long-term maintenance. Follow these tips to ensure your tattoo remains a vivid piece of art:
Hydration is crucial for overall health and skin elasticity. Drinking plenty of water supports your body's healing processes and helps maintain the quality of your skin, indirectly benefiting your tattoo.
Always use a mild, fragrance-free soap or a specially formulated tattoo cleanser to clean the tattooed area. Brands like Dr. Bronner’s 18-in-1 Hemp Baby Unscented Pure-Castile Soap or Dove Sensitive Skin Beauty Bar are often recommended by tattoo artists for their gentle yet effective cleansing properties.
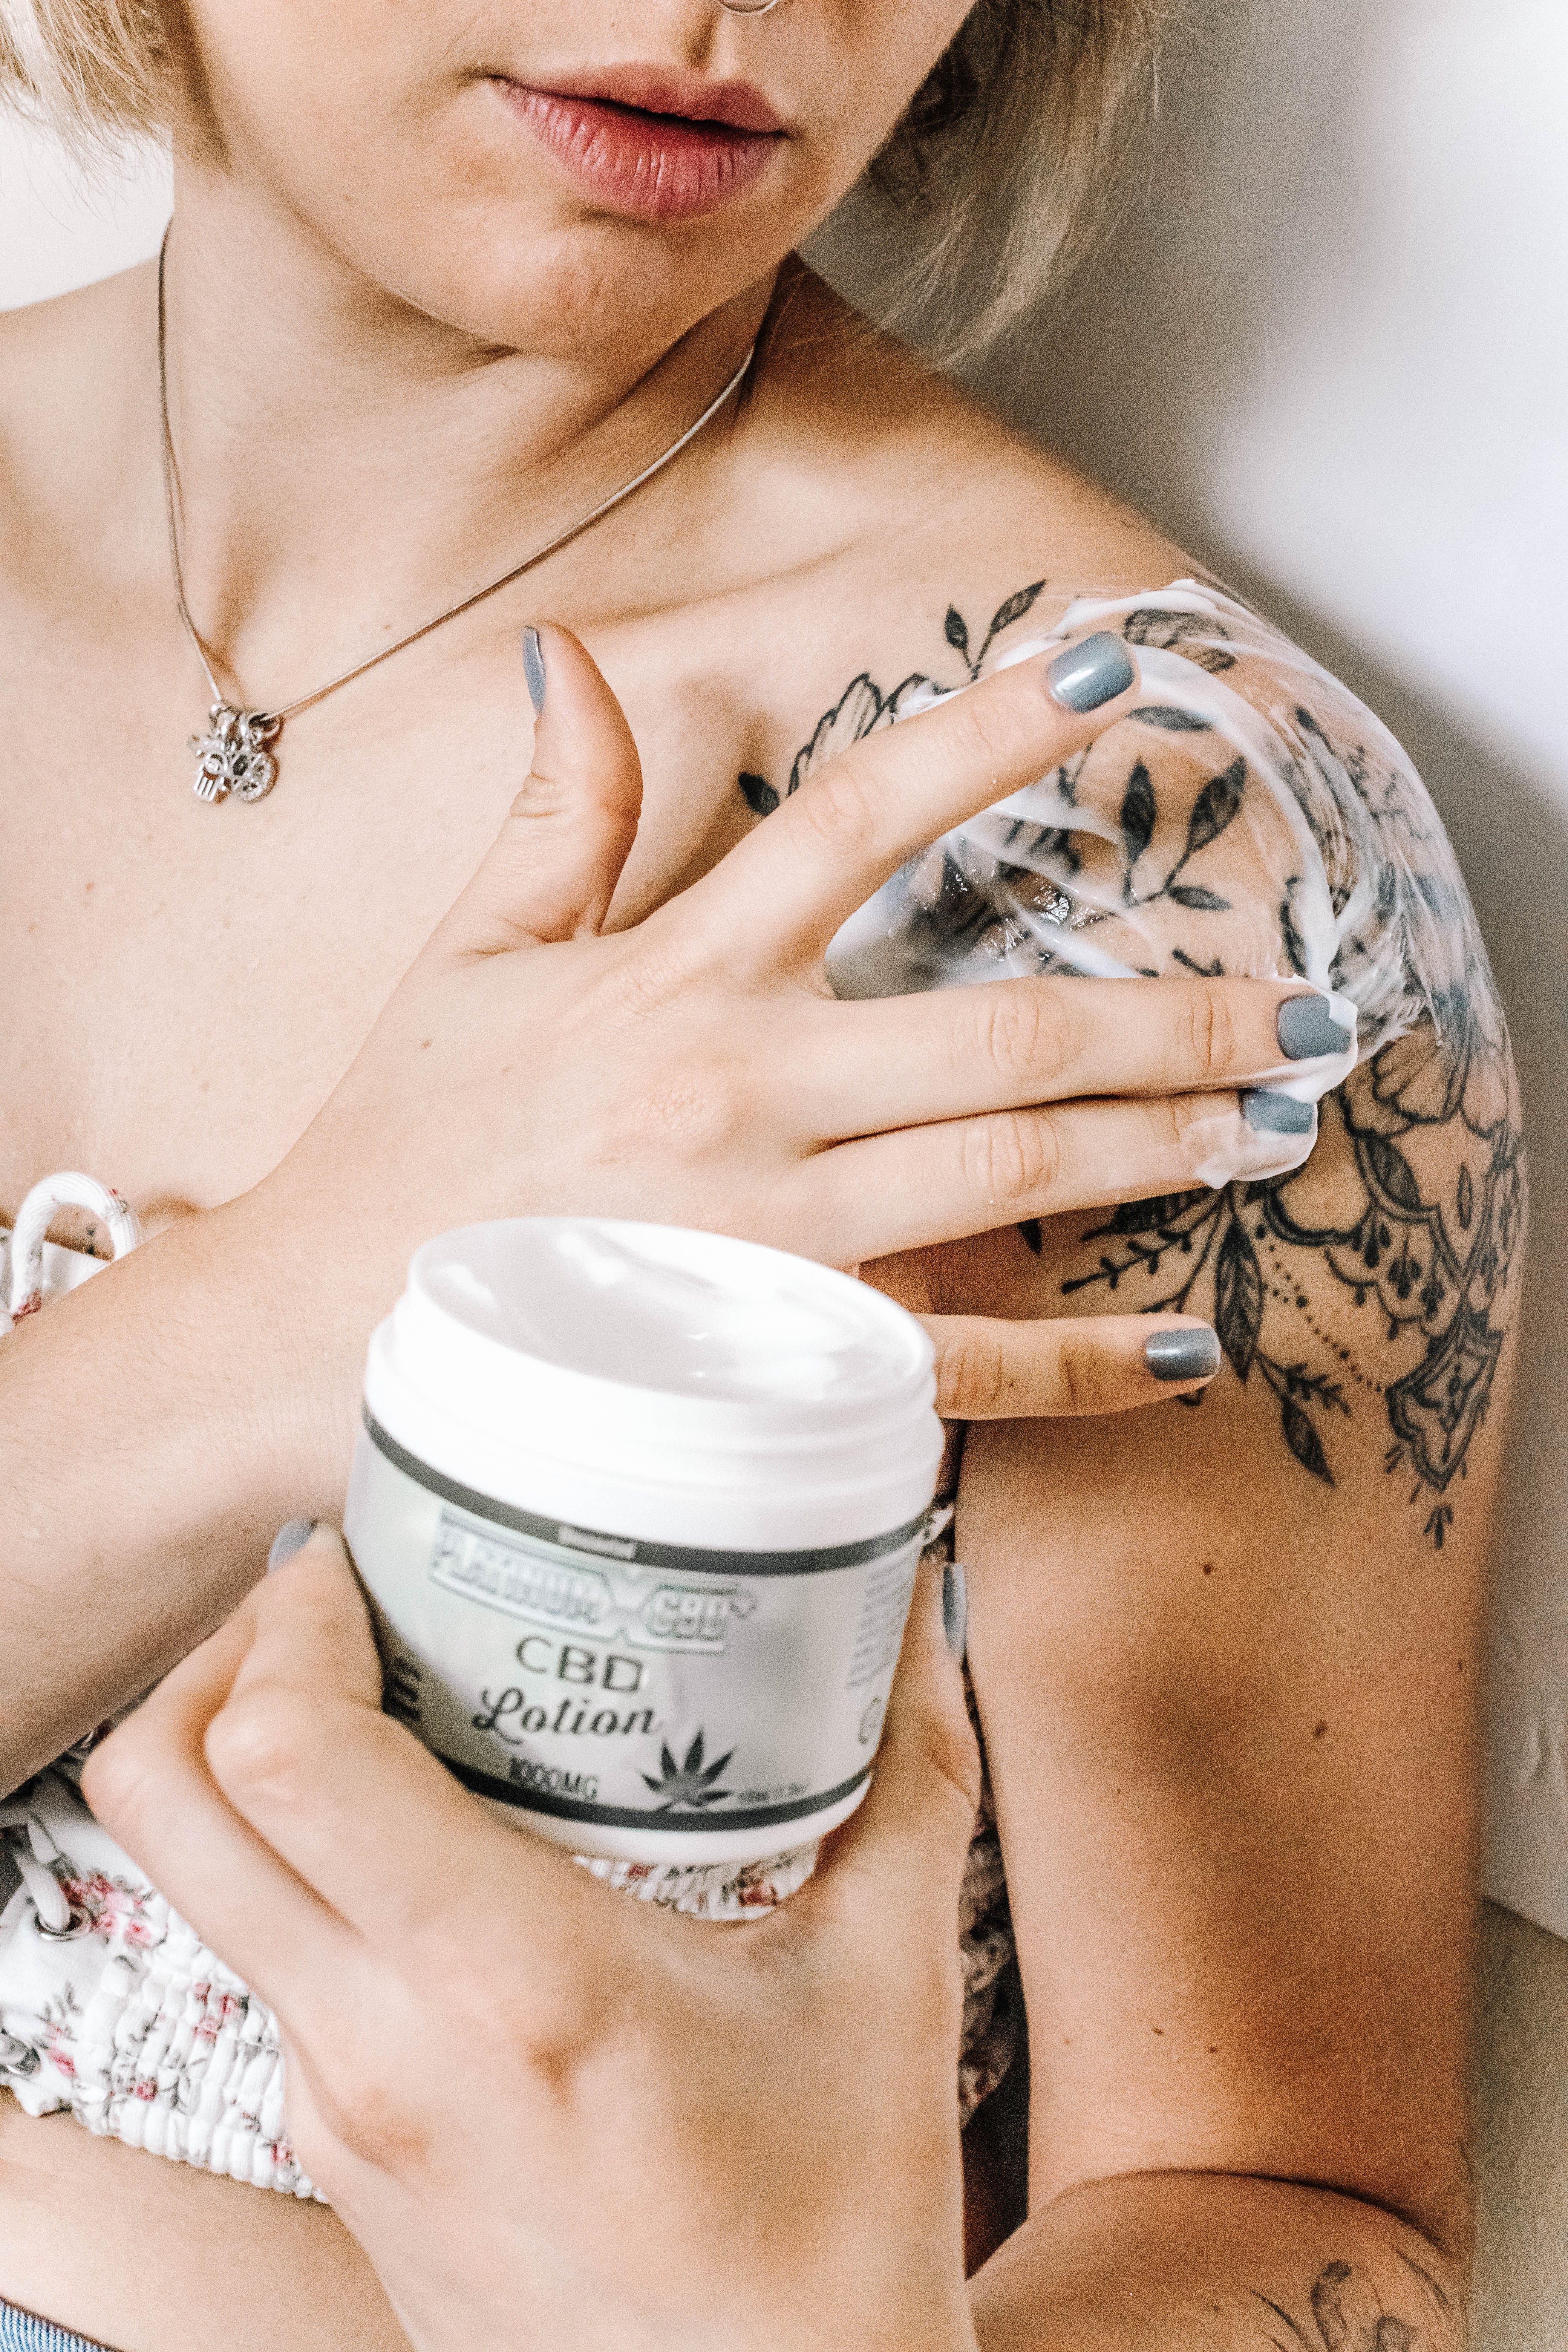
During the initial healing period, some artists recommend using A+D Original Ointment for the first day or two, then transitioning to Aquaphor Healing Ointment. Others may suggest Dr. Bronner’s Unscented Organic Magic Balm. Ensure that the chosen ointment allows for proper air flow to the tattoo and doesn't trap moisture.
While it's safe to continue using Aquaphor or Dr. Bronner’s during the first week, you can typically switch to lotion afterward. Look for lotions that are free of fragrances, ethyl alcohol, and other additives that could dry out your skin. Lubriderm Daily Moisture Lotion or Cetaphil Moisturizing Lotion are commonly recommended by tattoo artists for their hydrating properties.
During the initial healing process, it's best to avoid products that are 100% petroleum-based, such as original Vaseline. These products can be too thick on the skin, potentially trapping moisture and hindering air flow, which is essential for the healing process. Additionally, petroleum-based products without breathable ingredients may contribute to ink fading
Addressing Complications During the Healing Process
While the majority of the healing process is straightforward, its essential to be aware of potential complications. Here are some common issues and how to address them:
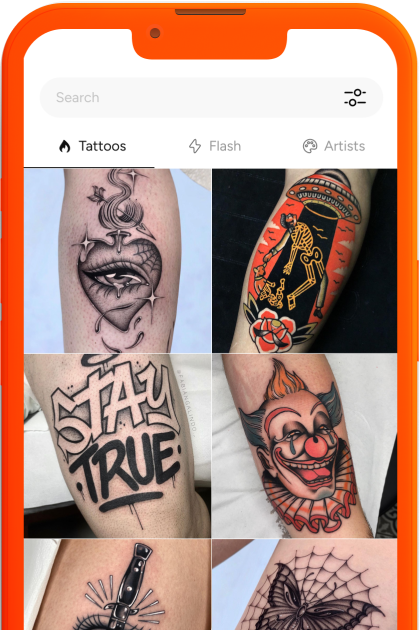
Download theApp & Explore more!

